Add your logo and color to emails
Set the sender name and reply-to address, and put your logo and brand color on every email Waitly sends for you.
Before you start
- Waitly is installed. Logo and brand color are on every plan, Free included.
- 1
Open Settings
In Waitly, choose Settings in the menu on the left of your Shopify admin.
The email settings sit in two groups: Emails to your shoppers holds who the emails come from, and Email branding holds how they look.
- 2
Set the sender name and reply-to address
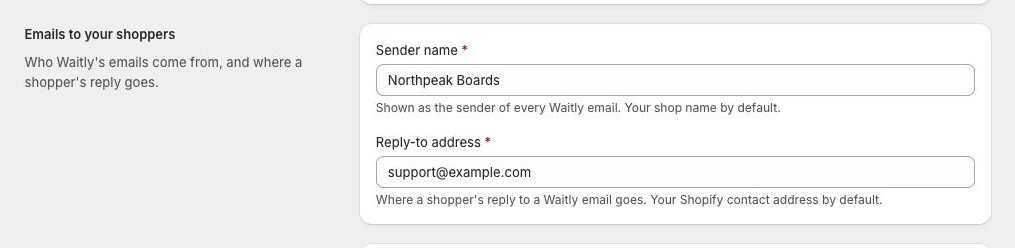
Sender name is the name shoppers see as the sender of every Waitly email. It starts as your shop name.
Reply-to address is where a shopper’s reply goes. It starts as your Shopify contact address. Both fields are required.
Shopify admin · Waitly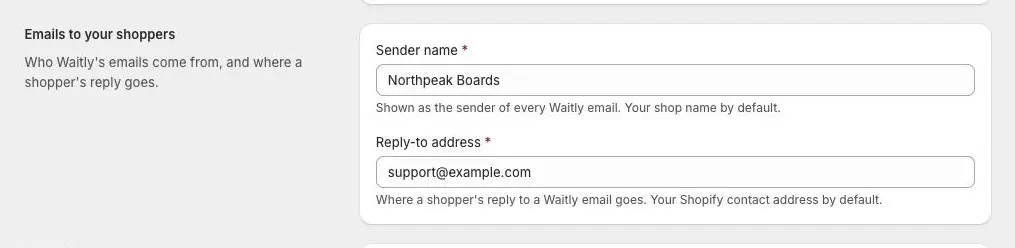
- 1The name shoppers see
- 2Where replies go
- 3
Add your logo
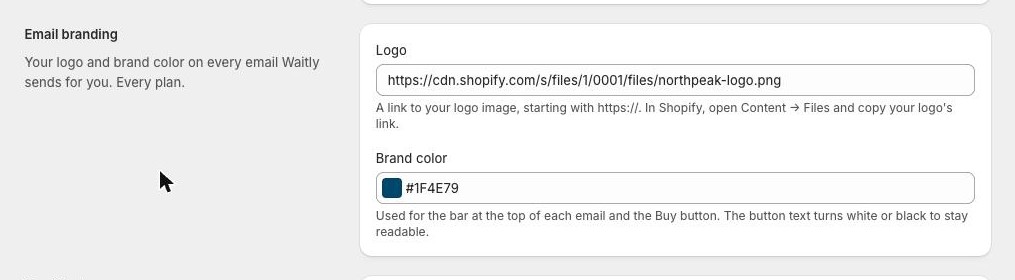
Under Email branding, paste a link to your logo image into Logo. The link must start with https://.
To get one, open Content and then Files in your Shopify admin, upload your logo if it isn’t there yet, and copy its link.
The logo shows at the top of each email. If a shopper’s mail app blocks images, they see your shop’s name in its place.
Shopify admin · Waitly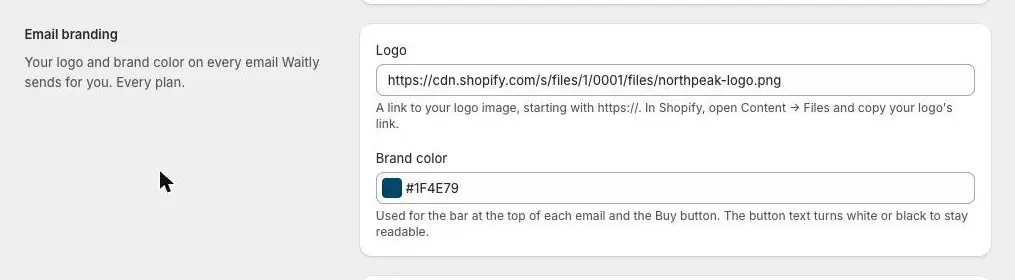
- 1Paste your logo’s link
- 2Pick a color or type a hex code
Note: Waitly doesn’t upload images itself, so the logo field takes a link. A link that starts with http:// is refused, because many mail apps block those images.
- 4
Pick your brand color
Choose a color in Brand color, or type a hex code such as #1f6feb. Waitly uses it for the bar across the top of each email and for the button.
The button’s text turns white or black on its own, so it stays readable on any color. Body text and the unsubscribe footer keep their usual colors.
- 5
Save your changes
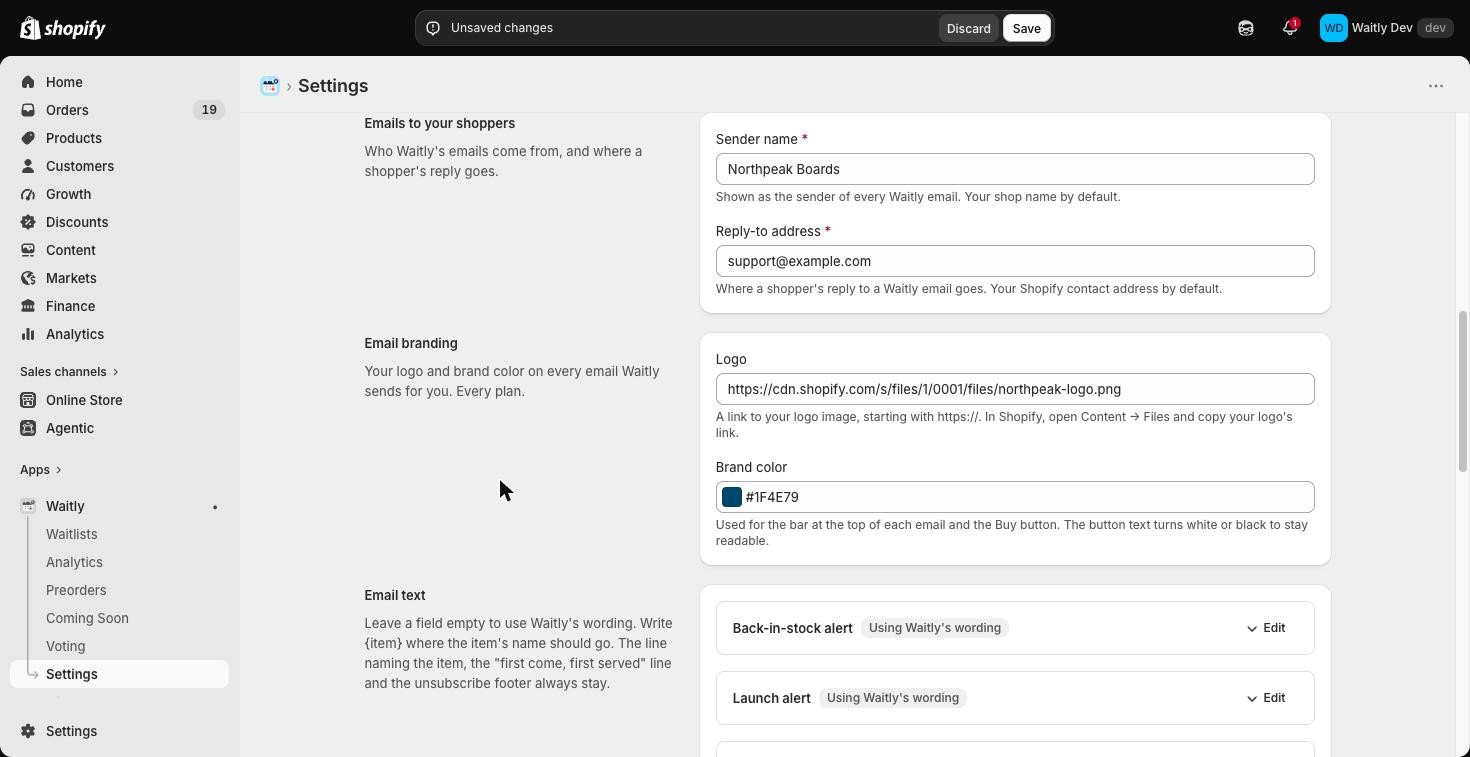
Select Save in the bar at the top of the page. Waitly shows Settings saved when it’s done.
Select Discard instead to put every field back as it was.
Shopify admin · Waitly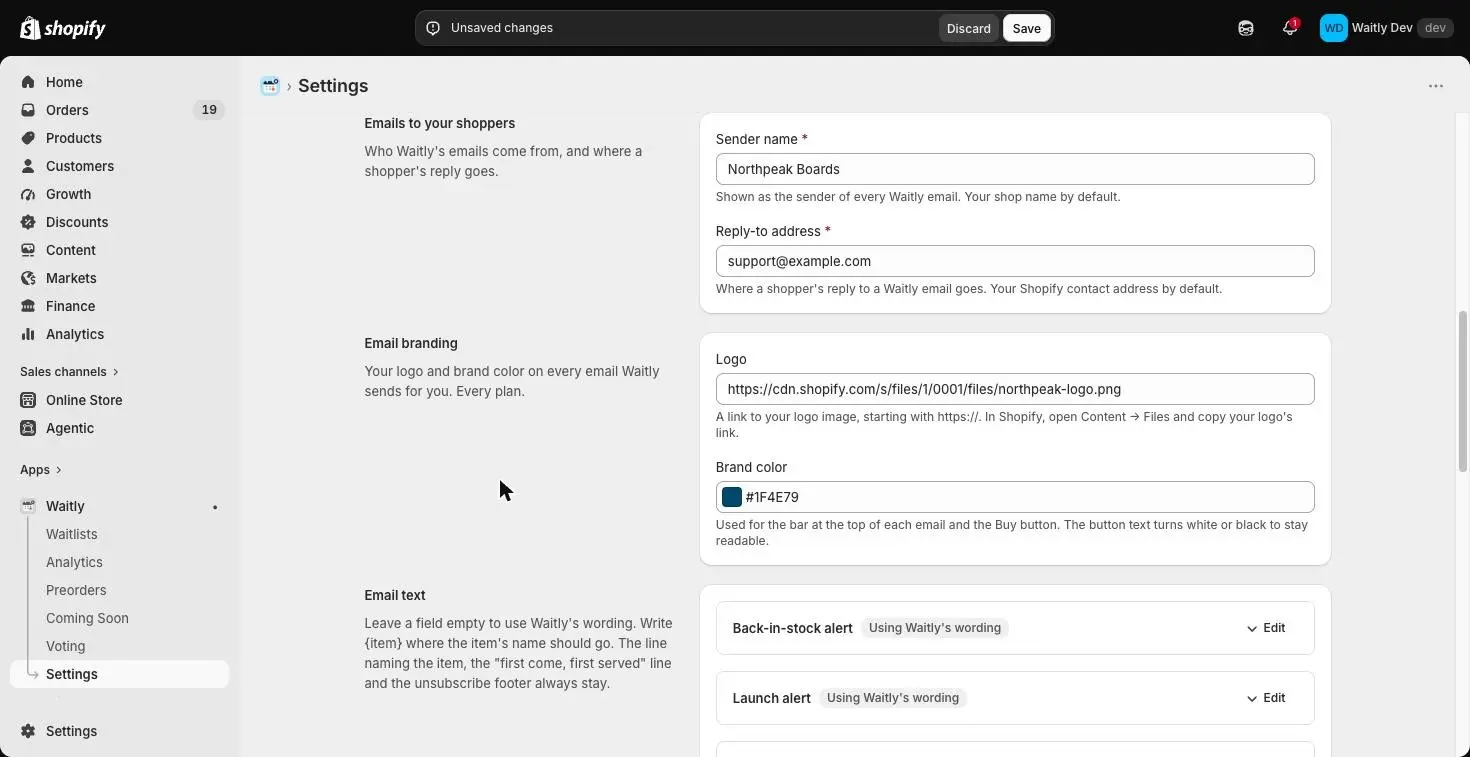
- 1Save your changes
- 2Or put everything back
- 6
See what shoppers get
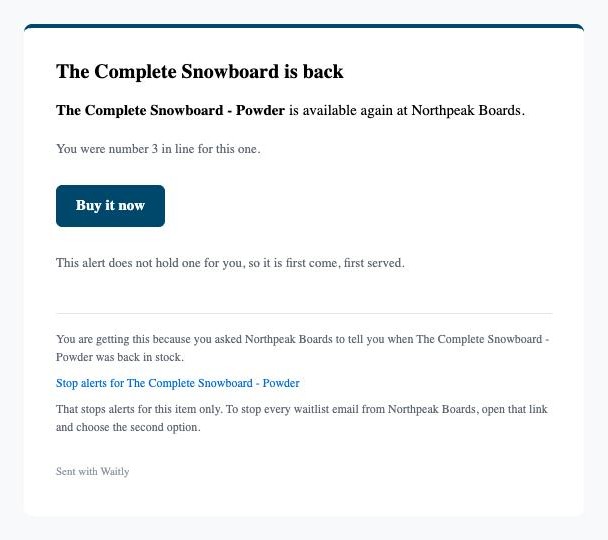
Your sender name, logo and color reach every email Waitly sends for you: the waitlist confirmation, back-in-stock and launch alerts, the vote confirmation, the preorder receipt and delay notices.
On the Free plan each email ends with a small “Sent with Waitly” line. Growth and Pro remove it.
Shopper’s inbox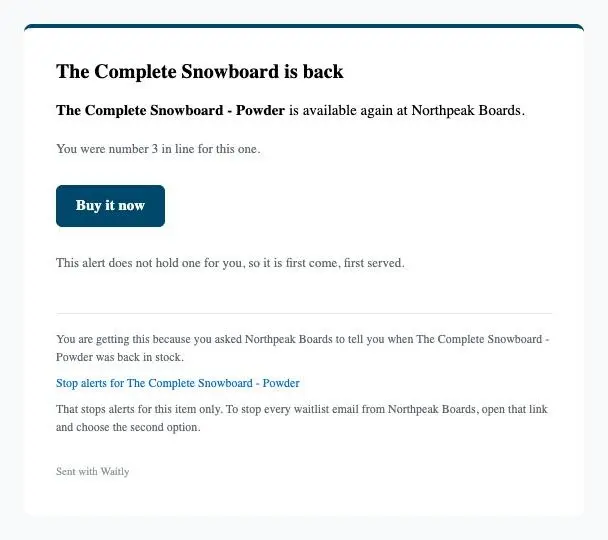
- 1Bar in your brand color
- 2Button in your brand color
- 3Only on the Free plan
Questions
- Can I change the words in the emails too?
- On Growth and Pro you can write your own subject, heading, message and button label for the alerts and the waitlist confirmation. Preorder and vote emails always use Waitly’s wording.
- Why doesn’t the unsubscribe link use my brand color?
- The footer keeps fixed colors on purpose, so a shopper can always read the way out, whatever color you choose.
Read next
- Write your own email textChange the subject, heading, message and button of the back-in-stock alert, the launch alert and the waitlist confirmation.
- The back-in-stock emailWhat your shoppers get when an item they’re waiting for comes back, and what happens after they read it.
- Choose or change your planSee which plan you’re on, compare what Growth and Pro add, and change plan through Shopify.